Adding an SSH connection will allow VaultPress to back up your site in the fastest way, while having the lowest load on your server. This is a step-by-step guide for adding an SSH connection to your VaultPress account.
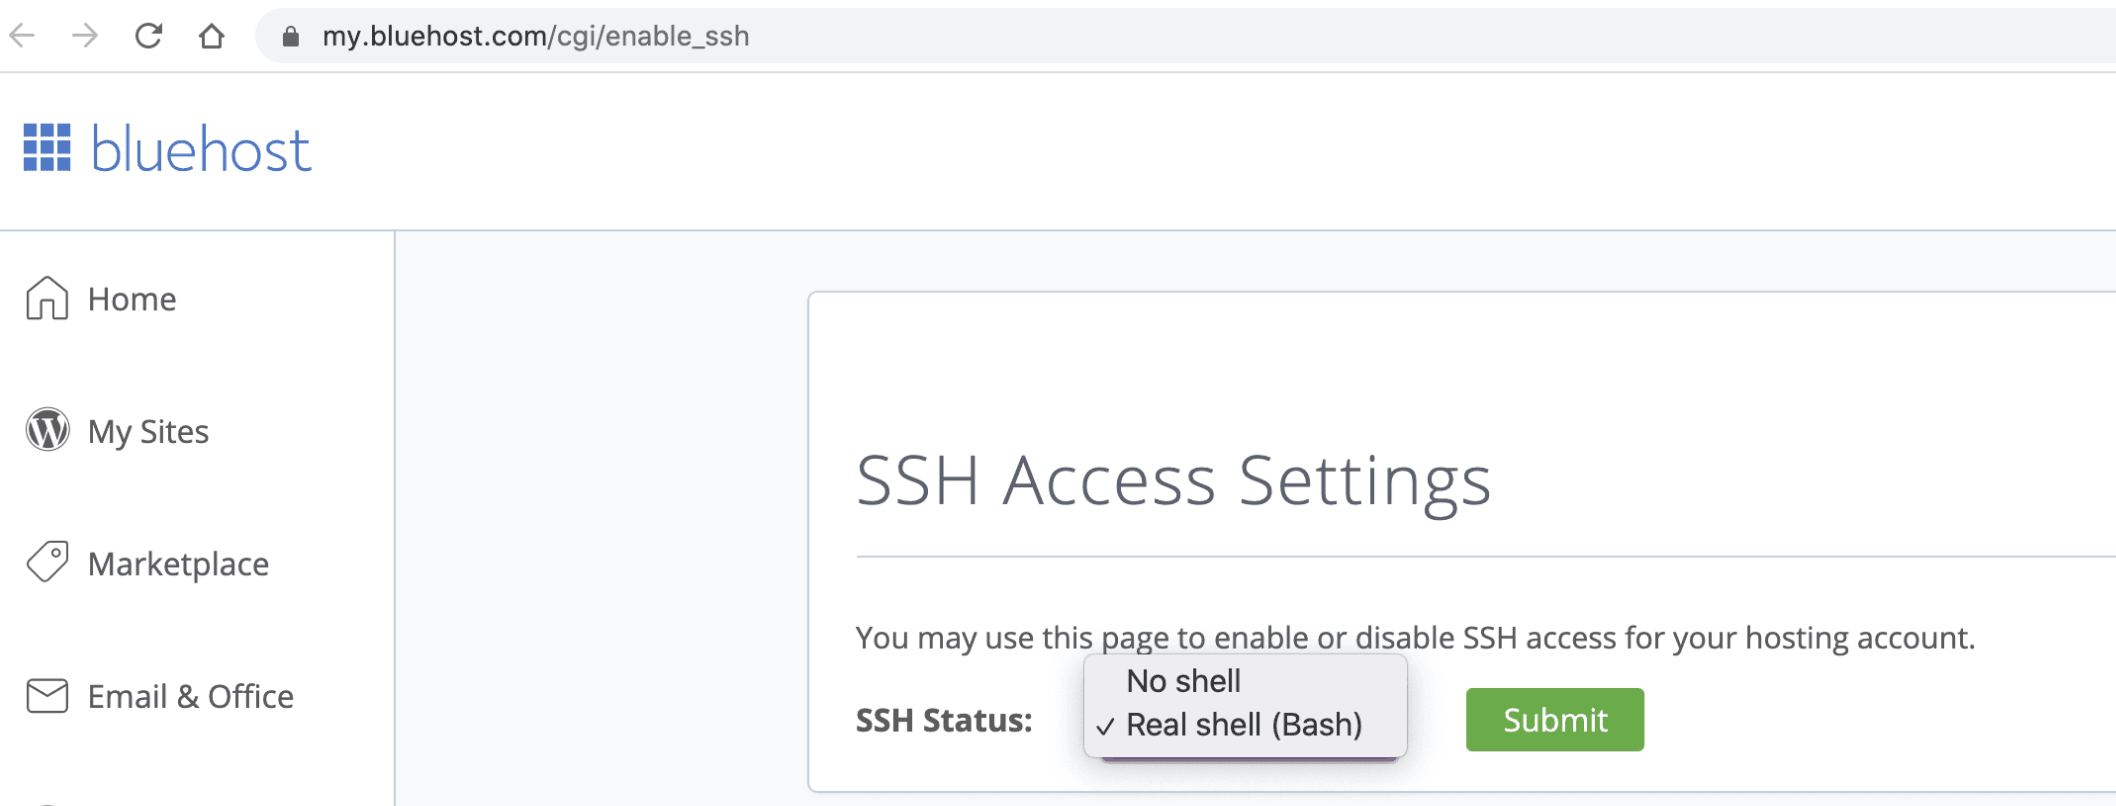
Note: SSH access may not be enabled for you on Bluehost. You can check if it is enabled from your Bluehost account here.
Here is a screenshot of what the setting should look like:
Step-by-Step Guide:
- Visit your VaultPress dashboard: https://dashboard.vaultpress.com/
- Next to your site, click Settings:

- Click SSH
- In “Server Address” type your domain name (e.g.
mycoolwebsite.com) - In “Port Number” type 22
- In “Username”, type your Bluehost cPanel username
- Then click Show Public Key:

- Copy the entire text:

- In a new tab/window: Login to Bluehost cPanel: https://my.bluehost.com/
- In the left hand side, click Advanced:

- Under Advanced, click SSH:

- Click Manage SSH Keys:

- Click Import Key:

- In “Choose a name for this key (defaults to id_dsa)” type VaultPress.
- Leave the fields “Paste the private key into the following text box” and “Passphrase” empty.
- In the field “Paste the public key into the following text box:”, paste your copied public key from step 8.
- Click Import – you should see a message saying “The key named “VaultPress” was imported.”
- Click “Back to Manage Keys” – you’ll now see the key listed under “Public Keys”.
- Click “Manage” next to the key:

- Click the “Authorize” button:

- Go back to the VaultPress dashboard tab and click “Save”:

- Now your SSH connection should connect and show with a green checkmark, indicating your site is correctly connected!

